
5 Best DIY Installation Tips for Homeowners
You're about to tackle a DIY solar panel installation, and with the right guidance, you can save money and guarantee a safe, efficient energy system that meets your home's unique needs. First, prepare your roof by inspecting for debris, loose granules, and damaged shingles. Next, choose a solar panel kit that fits your energy needs and budget. Plan your system configuration to maximize energy production, and install mounting hardware securely to guarantee a watertight seal. Connect your system components seamlessly, and test your system to validate compatibility. Now that you've got a solid start, discover how to optimize your system for maximum energy efficiency.
Key Takeaways
• Examine your roof for debris, curled or missing shingles, and signs of wear and tear before installing solar panels.
• Choose a solar panel kit that fits your energy needs, budget, and roof specifications to ensure optimal performance.
• Plan your system configuration carefully to maximize energy production, considering factors like orientation, tilt, and inverters.
• Install mounting hardware safely and securely to prevent water intrusion and maintain roof integrity.
• Connect and test your system thoroughly to ensure seamless energy flow and monitor energy production and consumption in real-time.
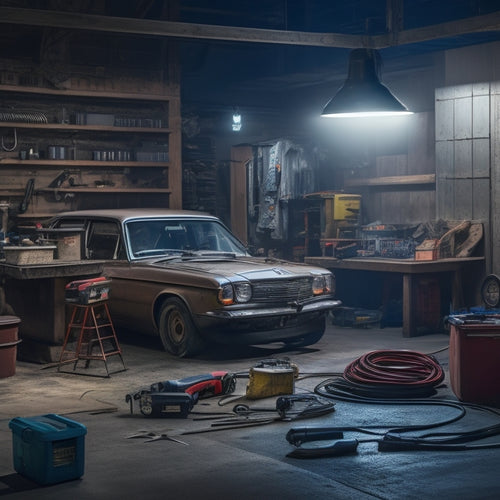
Prepare Your Roof for Installation
Before you start installing, examine your roof to make sure it's free from debris, loose granules, and curled or missing shingles, as these can compromise the integrity of your new installation. A thorough roof inspection is important to guarantee a successful DIY solar panel installation. Take the time to inspect your roof for any signs of wear and tear, and address any issues before moving forward.
As part of your roof inspection, check for damaged or missing shingles, curled or buckled shingles, and signs of animal infestation. You should also inspect your roof's flashing, vents, and chimneys for any signs of damage or deterioration. Performing regular roof maintenance can help extend the life of your roof and ensure a successful solar panel installation.
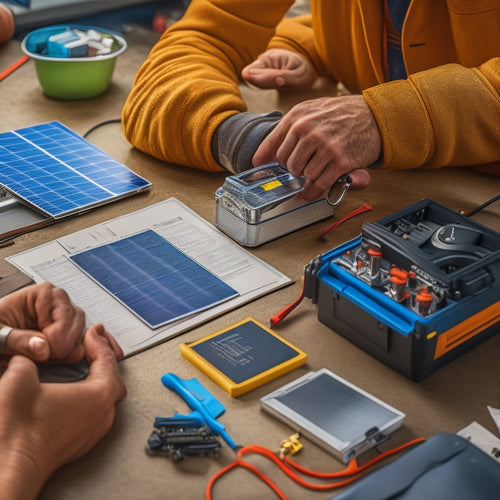
Choose the Right Solar Panel Kit
You'll need to select a solar panel kit that fits your energy needs, budget, and roof's specifications, so take time to research and compare different options.
When choosing a kit, consider your Wattage Considerations. Calculate your daily energy usage in watt-hours to determine the required system size. For instance, if you consume 30 kilowatt-hours daily, you'll need a 5-kilowatt system.
Next, conduct Brand Comparisons to find the best-suited kit for your needs. Research reputable brands, such as Tesla, SunPower, and Panasonic, and evaluate their efficiency, durability, and warranty offered. Look for kits with high-efficiency panels, inverters, and mounting systems that can withstand harsh weather conditions.
When comparing kits, assess the total cost, including equipment, shipping, and installation costs. Be wary of extremely low prices, as they might indicate lower-quality components. Balance your budget with the quality of the kit to make sure you get the best value for your investment.
Plan Your System Configuration
With your solar panel kit selected, now it's time to plan your system configuration, taking into account the specific requirements of your roof and energy needs. This critical step guarantees your solar panel system operates efficiently and effectively.
Start by evaluating your energy usage patterns to determine the ideal system size. Consider factors like your daily energy consumption, the number of appliances you want to power, and the amount of sunlight your roof receives. This will help you determine the best system sizing for your needs.
Next, think about energy efficiency. You want to maximize the amount of energy your system produces while minimizing energy losses. Consider the orientation and tilt of your solar panels, as well as the type of inverters and mounting hardware you'll use.
Proper system configuration can have a significant impact on your energy output, so take the time to get it right. By planning your system configuration carefully, you'll be able to enjoy maximum energy efficiency and a notable reduction in your energy bills.
Install Mounting Hardware Safely
Secure your solar panels to the roof with a sturdy mounting system, ensuring a watertight seal and a reliable connection that can withstand harsh weather conditions. You want to guarantee the structural integrity of your roof remains intact while supporting the weight of the solar panels.
When choosing a mounting system, consider the weather resistance of the materials used, as they'll be exposed to the elements.
When installing the mounting hardware, make sure to follow the manufacturer's instructions carefully. Take your time, and double-check your work to avoid any mistakes. It's vital to confirm the mounting system is securely fastened to the roof to prevent water intrusion and maintain the roof's structural integrity.
Additionally, consider the layout of your roof and the placement of the mounting hardware. You want to ensure the system is evenly distributed and won't put excessive stress on any one area of the roof.
Connect and Test Your System
Once the mounting hardware is securely in place, it's time to connect the solar panels to the inverter and other system components, guaranteeing a seamless flow of energy from the panels to your home's electrical system.
You'll need to connect the solar panels to the inverter, which converts DC power to AC power, making it usable in your home. Make sure all connections are secure and meet the manufacturer's specifications.
Next, integrate the system components, including the inverter, charge controller, and energy monitoring system. This will allow you to monitor your energy production and consumption in real-time, ensuring efficient system performance.
Validate that all components are compatible and configured correctly for effective system integration.
Frequently Asked Questions
Can I Install Solar Panels on a Metal Roof?
You're a master builder, crafting a sustainable kingdom on your rooftop. Yes, you can install solar panels on a metal roof, but make sure it's a compatible metal roofing type, like standing-seam or corrugated, and choose durable solar panels to withstand the elements.
How Do I Handle Local Building Codes and Permits?
'You'll need to research local building codes and obtain necessary permits before installing solar panels. Guarantee code compliance by following the permit process, which typically involves submitting plans and passing inspections to avoid costly rework.'
Will Solar Panels Increase My Home's Value?
"As you harness the sun's energy, your home's value shines brighter, too! You'll reap an appraisal boost, and when you sell, a resale advantage that sets your home apart, making it a hot commodity on the market."
Can I Install Solar Panels on a Shaded Roof?
"If you're considering solar panels, you'll need to assess your roof's shading patterns and orientation. You can still install panels on a shaded roof, but you'll want to optimize the placement to maximize energy production."
How Long Does a Typical Solar Panel Installation Take?
Did you know that the average American uses 900 kilowatt-hours of electricity per month? When you decide to go solar, you'll be relieved to know that a typical installation takes around 3-5 days, depending on your workforce management and project timeline.
Related Posts
-

Why Choose Affordable Electric Scooters for Urban Commuting
By choosing an affordable electric scooter for urban commuting, you'll not only reduce your transportation costs by u...
-
7 Essential Tips for DIY Solar Car Battery Install
To guarantee a successful DIY solar car battery installation, you'll need to choose the right components and follow p...
-
Why Recharge Your Car Battery With DIY Power?
By switching to DIY solar power, you can drastically reduce your reliance on expensive battery services, lower your c...


