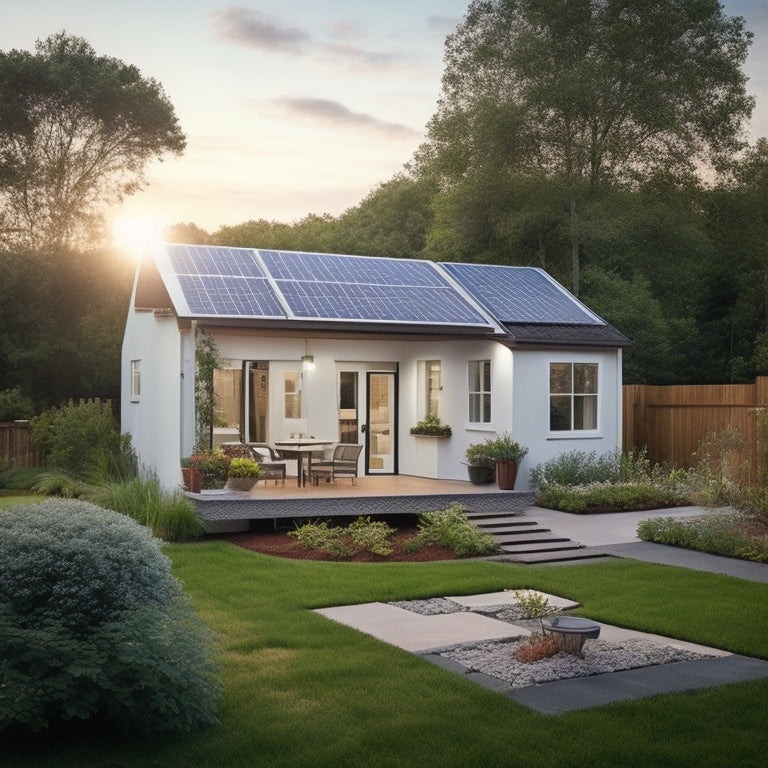
5 Essential Tips for Your DIY Home Solar System
To guarantee a successful DIY home solar system installation, you'll need to assess your energy consumption, choosing the right solar panels for your needs. Plan your system layout carefully, considering roof size, orientation, and shading. Proper wiring and connection are essential to avoid energy losses and safety hazards. Finally, inspect and test your system to ensure peak performance. By following these essential tips, you'll be well on your way to harnessing renewable energy - and a deeper exploration into each of these critical steps will reveal the secrets to maximizing your system's potential.
Key Takeaways
• Conduct an energy audit to understand your home's energy usage patterns and determine the ideal system size and configuration.
• Choose high-efficiency solar panels with a rating of at least 20% and consider durability, warranty, and customer service.
• Plan the system layout carefully to maximize energy production, considering roof size, orientation, and shading.
• Ensure proper wiring and connection by verifying wire size, distance, and voltage drops to prevent energy losses and fire hazards.
• Inspect and test the system thoroughly to identify potential issues, calibrate for optimal performance, and monitor system performance over time.
Assess Your Energy Consumption
Before installing a DIY home solar system, you need to determine how much energy you consume daily to accurately size your system and guarantee it meets your power requirements. Conducting an energy audit helps you understand your historical usage patterns, identifying areas of inefficiency and opportunities for improvement.
Review your past utility bills to calculate your average daily energy consumption in kilowatt-hours (kWh). This data will help you determine the ideal system size and configuration for your needs.
An energy audit involves analyzing your home's energy usage patterns, including the type and number of appliances, lighting, and HVAC systems. It's important to account for seasonal variations in energy consumption, such as increased heating or cooling demands.
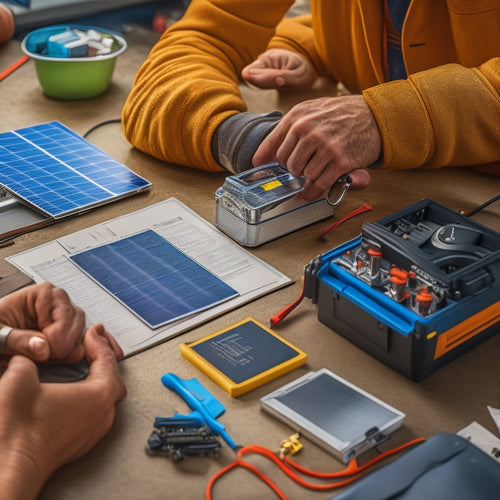
Choose the Right Solar Panels
With your energy consumption needs assessed, you're ready to select the right solar panels for your DIY home solar system, taking into account factors such as efficiency, durability, and cost.
When choosing solar panels, panel efficiency is vital. Look for high-efficiency panels with a rating of at least 20% to maximize energy production. Additionally, take into account the durability of the panels, making sure they can withstand harsh weather conditions and last for 25 years or more.
When comparing brands, research and read reviews to find the best fit for your needs. Compare the warranty, customer service, and certifications of different brands. Some top brands to contemplate include SunPower, Panasonic, and Canadian Solar. Be cautious of extremely low-priced panels, as they may compromise on quality. Instead, focus on finding a balance between cost and quality.
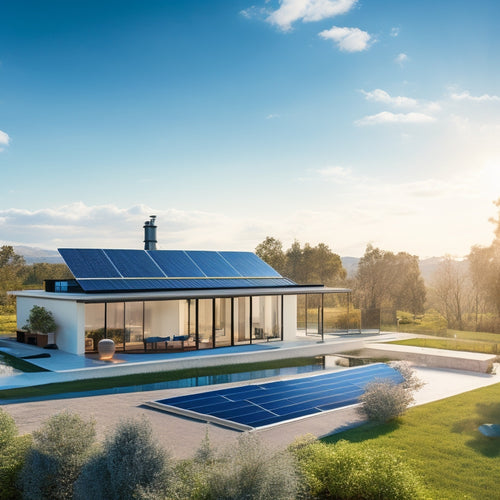
Plan Your System Layout Carefully
You'll need to carefully plan your system layout to guarantee maximum energy production, taking into account factors such as roof size, orientation, and shading. A well-planned layout ensures that your solar panels operate at peak levels, despite potential roof obstacles like vents, skylights, or chimneys.
To achieve this, conduct a thorough shading analysis to identify areas that may cast shadows on your panels. This analysis will help you determine the best placement for your panels, ensuring minimal energy loss.
When planning your layout, consider the orientation of your roof. A south-facing roof receives the most sunlight, making it an ideal orientation for peak energy production. However, if your roof has an east- or west-facing orientation, you can still achieve significant energy production with proper planning.
Ensure Proper Wiring and Connection
Properly sized and connected wiring is essential to guaranteeing your solar panel system operates efficiently and safely, as undersized wiring can lead to significant energy losses and even pose a fire hazard. You must verify that your wiring is designed to handle the maximum power output of your solar panels to minimize voltage drops, which can reduce your system's overall efficiency.
To achieve this, you'll need to:
-
Calculate the maximum current output of your solar panels and choose wires that can handle that load.
-
Consider the distance between your solar panels and the inverter or charge controller, as longer wires can lead to greater voltage drops.
-
Use wire sizing charts or consult with an electrician to determine the appropriate wire size for your system.
Inspect and Test Your System
Once your solar panel system is installed, perform a thorough inspection to identify any potential issues before testing its performance. You'll want to check for loose connections, damaged panels, and make sure all components are securely fastened. Verify that the system is properly grounded and that all electrical connections meet safety standards.
Next, calibrate your system to optimize its performance. This involves adjusting the inverter's settings to match your system's specifications. You'll also need to configure the monitoring system to track your energy production and consumption. This will enable you to identify any performance issues and make data-driven decisions to improve your system's efficiency.
During the testing phase, monitor your system's performance to make certain it's producing the expected amount of energy. Use performance monitoring tools to track your energy output and identify any anomalies. This will help you pinpoint issues and take corrective action to maximize your system's potential.
Frequently Asked Questions
Can I Install a DIY Solar System on a Rented Property?
Before installing a DIY solar system on a rented property, you'll need to understand your Renter's Rights and obtain Landlord Approval, ensuring you're not violating your lease or rental agreement.
How Long Does a Typical DIY Solar System Last?
You can expect your DIY solar system to last around 25-30 years, considering system degradation and battery longevity, with regular maintenance and proper installation, ensuring a reliable and efficient power source for your home.
Can I Add More Panels to My Existing System Later?
As you navigate the ever-unfolding landscape of your energy independence, you'll find that your DIY solar system is like a living organism, capable of growth and adaptation - yes, you can add more panels later, expanding your system and upgrading your panels as needed.
Do I Need to Notify My Utility Company About My Solar System?
You'll need to notify your utility company about your solar system, as they'll need to adjust your utility bills to reflect the net metering agreement, ensuring you're credited for excess energy produced.
Are DIY Solar Systems Eligible for Government Incentives?
"Absence of evidence is not evidence of absence," so don't assume you're not eligible for incentives! You can claim a Federal Tax credit of up to 26% of your system's cost, plus State Credits, through government-backed Renewable Energy Incentive Programs and rebates.
Related Posts
-
7 Essential Tips for DIY Solar Car Battery Install
To guarantee a successful DIY solar car battery installation, you'll need to choose the right components and follow p...
-
3 Ways to Increase Motorcycle Horsepower
You're about to unleash your motorcycle's hidden power by exploiting three key areas. First, upgrade your electric mo...
-
Why Opt for High-Efficiency Solar Panels Online?
You can greatly enhance your solar energy output and savings by upgrading to high-efficiency solar panels, which can ...


